Your Cart is Empty
Get your first 3 samples FREE! Use code: 3FREESAMPLES at checkout!
Get your first 3 samples FREE! Use code: 3FREESAMPLES at checkout!
Shop Products
What's Trending
Resources
Wallplanks® Blogs
The Best Top Coat Wood Finish
Pre-Applied Adhesive
Wallplanks® Blogs

View Blogs >
The Best Top Coat Wood Finish

Read More >
Pre-Applied Adhesive

Read More >
Panel Wall Installation: A Step-by-Step Guide for Homeowners
December 14, 2024 4 min read

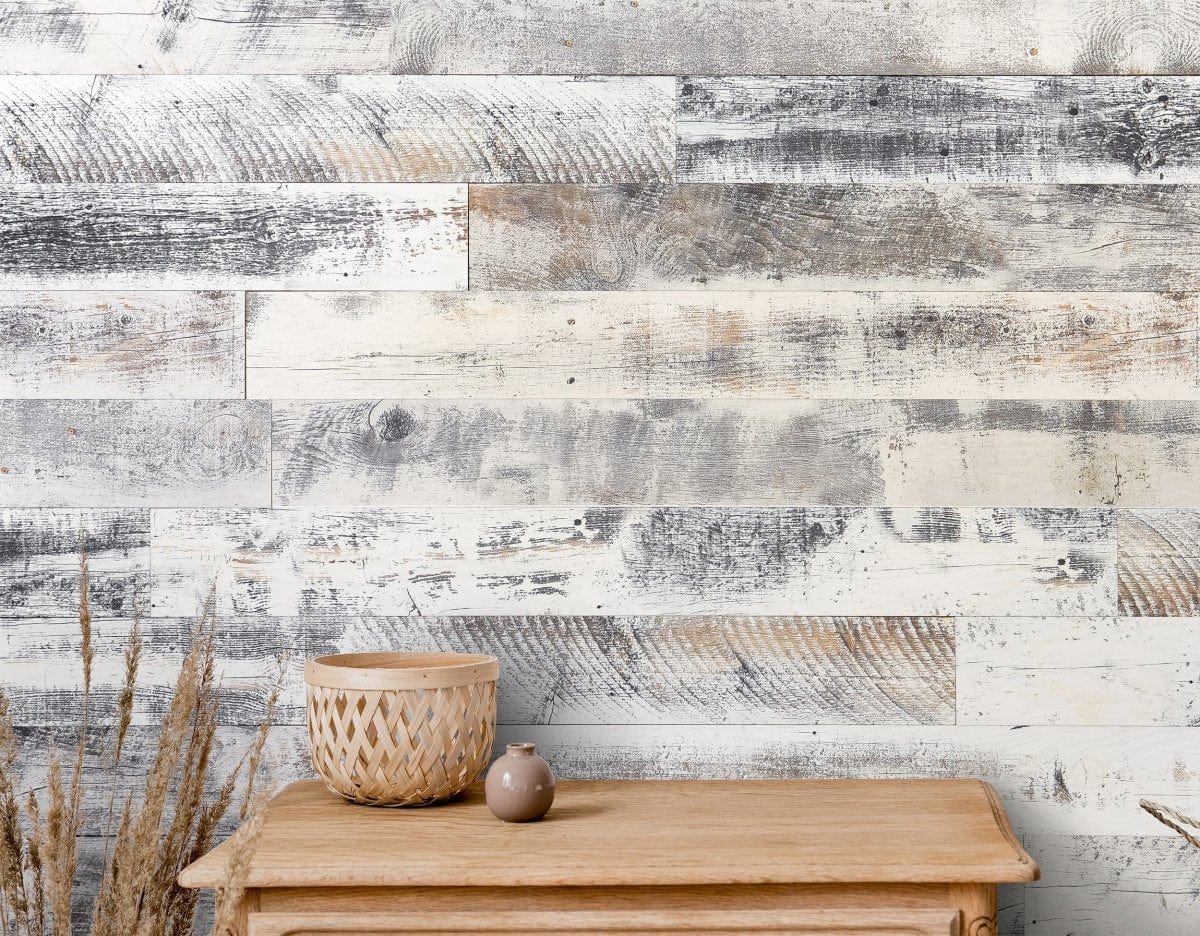
Panel walls have become popular for homeowners looking to enhance their interiors with a touch of texture, warmth, and character. Whether you're updating a living room, bedroom, or home office, a panel wall can transform any space into a stunning showcase. Wallplanks makes this process easy with high-quality, durable, and North American-sourced products.
Why Choose a Panel Wall?
Before diving into the installation process, it's worth exploring why panel walls are such a popular choice among homeowners.
Aesthetic Appeal
Panel walls add depth and dimension, creating a sophisticated look that elevates your space. With various designs, colors, and finishes, Wallplanks' panel walls cater to any decor style, from modern to rustic.
Durability and Performance
Panel walls are not only visually appealing but also practical. They protect underlying walls from wear and tear and can improve sound insulation.
Easy Installation
Thanks to Wallplanks' peel-and-stick technology, creating a beautiful panel wall has never been easier. Even first-time DIYers can achieve professional results.
Step 1: Gather Your Tools and Materials
Preparation is key to any successful home improvement project. Start by gathering the following tools and materials:
Materials
- Wallplanks panel wall products
- Tape measure
- Level
- Pencil
- Peel-and-stick adhesive (included with Wallplanks products)
Tools
- Utility knife
- Jigsaw (for cutting around outlets or unique shapes)
- Sanding block
- Cleaning supplies (mild detergent, sponge, and towel)
Step 2: Prepare Your Wall
Proper wall preparation ensures the adhesive panels will stick securely and stay in place for years to come.
Inspect the Surface
Check your wall for imperfections, such as cracks, holes, or uneven areas. Use spackling paste to fill any gaps and sand the surface smooth.
Clean Thoroughly
Dust, grease, and dirt can interfere with adhesion. Clean the wall using a mild detergent, and ensure it is completely dry before proceeding.
Measure and Plan
Use a tape measure to calculate the area you'll be covering. Sketch a layout to determine how you'll arrange the panels. This planning step helps avoid uneven cuts or misaligned patterns.
Step 3: Acclimate Your Panels
Wallplanks' panel walls are crafted from high-quality North American materials. Like any wood product, they need to acclimate to your home's environment.
How to Acclimate
Place the panels in the room where they'll be installed for 48-72 hours. This step helps the material adjust to the temperature and humidity, preventing warping or shrinking post-installation.
Step 4: Start the Installation Process
Now comes the exciting part—installing your panel wall!
Mark a Starting Line
Use a level to draw a horizontal starting line at the base of your wall. This will ensure that the first row of panels is perfectly straight.
Peel and Stick
Wallplanks' peel-and-stick adhesive technology simplifies the process:
- Remove the adhesive backing from your first panel.
- Align the panel with your starting line.
- Press firmly, starting at the center and working toward the edges to eliminate air bubbles.
Cut to Fit
When you reach the edges or corners, measure the space and use a utility knife or jigsaw to cut the panel to size. Sand the edges for a smooth finish.
Step 5: Continue Building the Wall
Stagger the Panels
For a more natural and visually pleasing look, stagger the panels in a brickwork pattern. This means the ends of panels in one row should align with the middle of panels in the rows above and below.
Check Alignment Regularly
Use a level after every few rows to ensure the panels remain straight. Minor adjustments can be made by gently repositioning the panels before the adhesive sets fully.
Step 6: Address Outlets and Fixtures
Cutting around outlets, switches, or fixtures may seem intimidating, but it's manageable with the right tools.
Trace and Cut
- Remove the outlet cover.
- Place the panel over the outlet and trace the shape.
- Use a jigsaw to cut the traced section.
Reinstall Covers
After fitting the panels, reinstall the outlet or switch cover for a polished look.
Step 7: Add Finishing Touches
Your panel wall is nearly complete! A few final details will ensure a professional appearance.
Trim Edges
For a seamless finish, add trim or molding to the edges of your panel wall. Wallplanks offers complementary trims to match your panels.
Seal Gaps
Use caulk or wood filler to seal any small gaps between panels for a flawless look.
Maintenance Tips for Your Panel Wall
Wallplanks' panel walls are designed to last with minimal maintenance. Here are a few tips to keep them looking pristine:
- Dust Regularly: Use a soft cloth or duster to remove dirt and debris.
- Avoid Harsh Cleaners: Stick to mild cleaning solutions to prevent damage to the finish.
- Inspect Annually: Check for any loose panels and reapply adhesive if needed.
Transform Your Space with Wallplanks
A panel wall is more than just an aesthetic upgrade—it's an investment in your home's style and functionality. Wallplanks' premium-quality products are made in the USA with sustainably sourced North American materials, so homeowners can trust that their project will stand the test of time.
Why Choose Wallplanks?
- Expertise You Can Trust: Founded by Tryggvi Magnusson, Wallplanks combines years of industry knowledge with innovative designs.
- Sustainable Sourcing: Our materials are responsibly sourced, ensuring both beauty and eco-friendliness.
- Ease of Installation: Thanks to our peel-and-stick technology, anyone can create a stunning panel wall without professional help.
Ready to elevate your space? Explore our collection of high-performing, durable, and beautiful wall panel products. Let us help you transform your home, one wall at a time!

