Your Cart is Empty


How Do You Attach Wood Panels to the Ceiling? 5 Steps


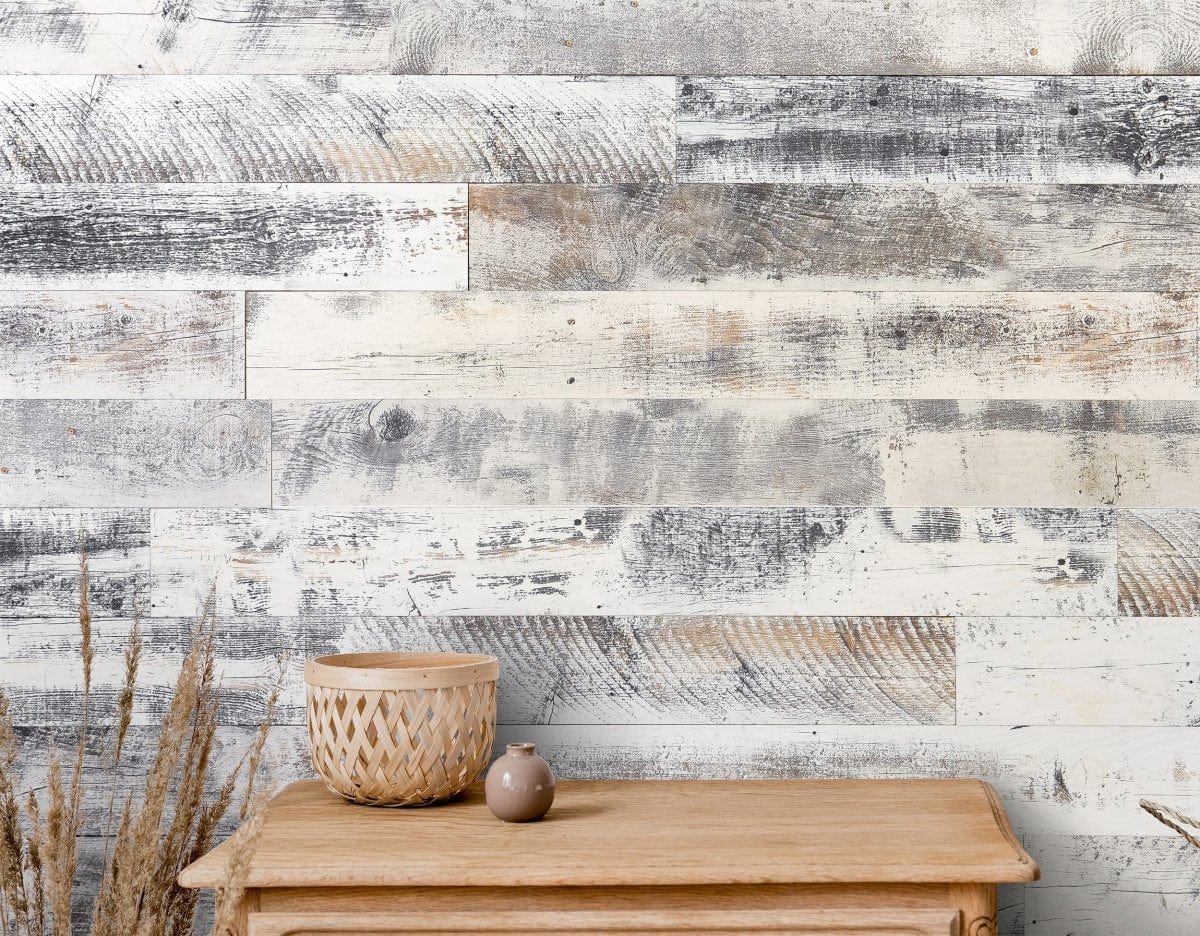
Transforming your ceiling with wood panels can add depth, warmth, and an exquisite touch to your interior décor. If you're considering taking on this enhancement project yourself, you'll be delighted to know it's achievable with careful planning, attention to detail, and the right guidance.
Step 1: Planning and Preparation
Before you begin attaching wood panels to your ceiling, it is essential to plan meticulously and prepare thoroughly. A successful project starts with a solid blueprint.
Gather Materials:
- Wood panels (preferably from Wallplanks, made in the USA with quality you can trust)
- Measuring tape
- Pencil
- Level
- Stud finder
- Nail gun or adhesive (depending on preference)
- Ladder or scaffolding
- Safety gear (gloves, goggles)
Measure and Design:
Use a measuring tape to determine the dimensions of your ceiling. Calculate the quantity of wood panels needed by dividing the ceiling's total surface area by the area of a single panel. Adding 10% more to your order can account for any possible waste due to cuts or mistakes.
Decide on the layout and pattern you want. Traditional choices include simple linear patterns or more intricate designs like herringbone or chevron. Once you have a clear plan, create a sketch to help visualize the final look.
Step 2: Preparing the Ceiling
Preparation is key to ensuring that your wood panel ceiling not only looks great but also remains resilient over time.
Clean and Inspect:
Ensure the ceiling surface is clean, dry, and debris-free. This step is crucial for both adhesive and nail applications. If any repairs are needed, such as fixing cracks or holes, take care of them before proceeding.
Locate and Mark the Studs:
Use a stud finder to locate the ceiling joists and mark their positions with a pencil. These marks will guide you in nailing or screwing the wood panels into place, which is particularly important for heavier panels to prevent sagging.
Step 3: Cutting and Prepping Wood Panels
High-quality wood panels, such as those offered by Wallplanks, ensure longevity and beauty. Now, it's time to get the wood panels ready for installation.
Acclimate the Panels:
Wood naturally expands and contracts with changes in humidity. To ensure a better fit, leave your wood panels in the room where they will be installed for at least 48 hours. This acclimatization process prevents warping and ensures a better fit.
Measure and Cut:
Measure twice, cut once – this mantra holds true for any woodworking project. Use your measurements from Step 1 to cut the panels to the required size. A table saw or miter saw ensures clean and precise cuts. Don't forget to account for any fixtures or odd corners and cut the panelsaccordingly.
Sand and Stain (Optional):
If you prefer a finish other than the factory finish, now is the time to sand and stain or paint the panels. Allow sufficient drying time before installation.
Step 4: Installation
Installing your wood panel ceiling can be an exhilarating part of this project. Take your time to ensure careful alignment and secure attachment.
Align the First Panel:
Start from one corner of the ceiling and align the first panel accurately. Use a level to ensure it is straight. This first panel will anchor the rest of the panels, so precision is crucial.
Secure the Panel:
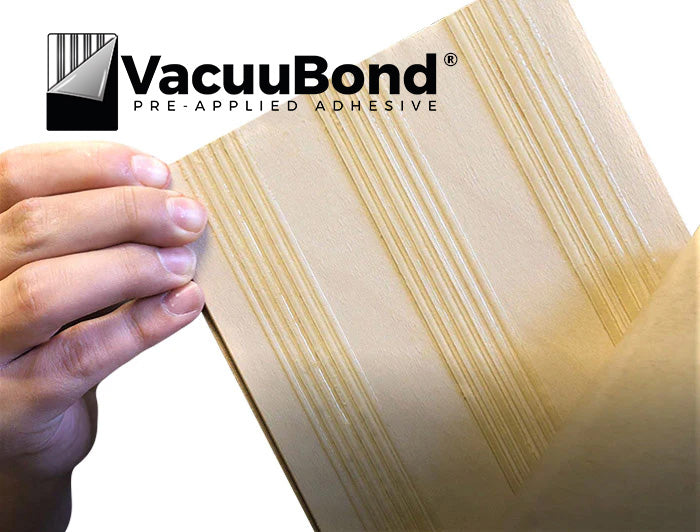
Secure the first panel to the ceiling, depending on your chosen method (nails or adhesive). A nail gun is highly recommended for speed and efficiency for nails. Place nails at the stud positions marked earlier. If using adhesive, apply it to the back of the panel in a zigzag pattern, then press firmly against the ceiling.
Continue Installing:
Move to the next panel, ensuring it aligns perfectly with the first. Use spacers if needed to maintain even gaps. Continue this process, panel by panel, until the entire ceiling is covered. Always check for levelness and alignment as you proceed.
Step 5: Finishing Touches
With the main installation completed, it's time to add the finishing touches to give your wood panel ceiling a polished look.
Fill Nail Holes:
If you used nails, fill the holes with wood putty that matches your panel color. Once dry, lightly sand the filled areas for a smooth finish.
Install Trim and Molding:
Consider adding trim or crown molding around the edges to give your ceiling a polished, cohesive look. This will also cover any small gaps and give the project a professional finish.
Final Inspection:
Lastly, thoroughly inspect your new wood panel ceiling. Touch up any imperfections, clean any adhesive residue, and enjoy the fruits of your labor.
With these five steps, you can successfully install a stunning wood panel ceiling that transforms your space into a warm and inviting sanctuary. High-quality products like those from Wallplanks ensure that your ceiling will maintain its beauty and durability over time.
Why Choose Wallplanks for Your Wood Panel Ceiling?
Wallplanks, based in Weston, Wisconsin, has crafted an impeccable reputation for producing durable, beautiful, high-performing wall products since our founding in 2017. Our founder, Tryggvi Magnusson, brought his industry expertise to develop wood panels that not only transform interiors but are also user-friendly for DIY enthusiasts and professionals alike.
Manufactured by our parent company, From the Forest, LLC, we ensure premium quality by sourcing all our materials from North America. Our products are more than just functional; they're crafted to withstand the changing whims of design trends while providing timeless elegance.
Contact Us Today
Ready to transform your ceiling and create a stunning focal point in your home? Explore our extensive range of wood panels designed to bring your interior design dreams to life. Our easy-to-install, high-quality wood panels are ideal for any DIY project, ensuring you easily achieve a professional finish.
Choose Wallplanks for your next project, where superior craftsmanship meets exceptional style. Let's elevate your interiors together!