Your Cart is Empty


Step-by-Step Guide to Installing Acoustic Panels on Walls


Acoustic panels are essential in creating a sound-controlled environment, whether for a home theater, recording studio, or any space where sound quality is paramount. Proper installation of these panels can significantly reduce noise, enhance sound clarity, and improve the overall acoustic experience of a room.
Why Install Acoustic Panels?
Before diving into the installation process, it's important to understand why acoustic panels are a valuable addition to your space. Acoustic panels for walls are designed to absorb sound waves, reducing echoes, reverberations, and background noise. This absorption results in a cleaner and more accurate sound, which is especially crucial in environments like recording studios, conference rooms, and home theaters.
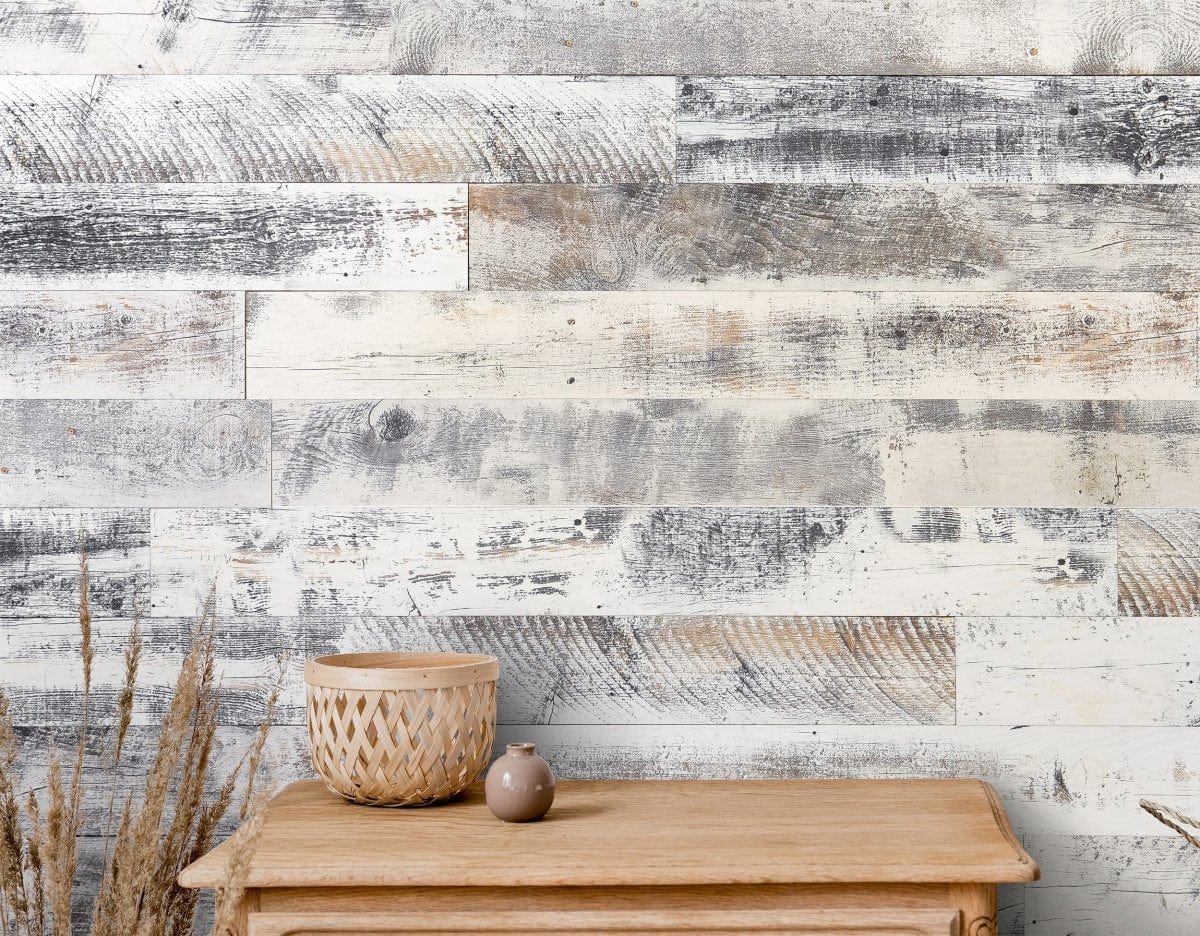
Acoustic panels also add a decorative element to your room. With various styles, colors, and materials available, they can enhance the aesthetic appeal of any space while serving a functional purpose. For a professional finish, it's important to choose high-quality panels that are both effective and visually pleasing.
Step 1: Determine the Placement of the Acoustic Panels
The first step in installing acoustic panels is deciding where to place them. This will depend on the specific needs of your space. For example, if you're treating a recording studio, you'll want to focus on the areas where sound reflects the most, such as the walls directly opposite your speakers.
Identify Reflection Points
One of the most critical aspects of acoustic treatment is identifying the primary reflection points. These are the areas where sound waves bounce off the walls and interfere with the direct sound. A simple way to find these points is to use a mirror. Sit in your primary listening position and have someone move the mirror along the walls. Wherever you see the reflection of your speakers in the mirror, that's a primary reflection point where an acoustic panel should be placed.
Consider the Room's Function
The number and placement of acoustic panels will also vary depending on the room's function. For instance, in a home theater, you'll want to place panels behind the screen and around the seating area to absorb sound and prevent it from bouncing around the room. In a conference room, focus on placing panels where conversations take place, such as around the meeting table.
Step 2: Measure Your Walls and Panels
Once you've determined the optimal placement for your acoustic panels, it's time to measure your walls and the panels themselves. Accurate measurements are crucial for ensuring that the panels fit perfectly in the designated spots.
Measure the Wall Space
Using a tape measure, determine the height and width of the wall areas where you plan to install the panels. Be sure to account for any obstacles, such as windows, doors, or electrical outlets. Mark the spots where the panels will be placed using a pencil or masking tape. This will give you a visual guide for the installation process.
Measure the Panels
Next, measure the acoustic panels to ensure they fit in the marked spots. Standard panels come in a variety of sizes, so make sure the dimensions of your panels are compatible with the space you've allocated. Depending on the material, you can cut the panels to size using a sharp utility knife or saw.
Step 3: Gather Your Tools and Materials
Before you begin the installation, ensure you have all the necessary tools and materials. Having everything ready will make the process smoother and more efficient.
Tools You'll Need
- Measuring Tape: For measuring wall space and panel dimensions.
- Level: To ensure your panels are straight and evenly aligned.
- Pencil or Masking Tape: For marking placement on the walls.
- Utility Knife or Saw: If cutting the panels to size is necessary.
- Drill and Screws: For mounting the panels to the wall.
- Adhesive (Optional): For additional security, especially if you prefer not to drill into your walls.
Materials
- Acoustic Panels: Ensure you have the correct quantity and size.
- Mounting Brackets or Clips: You may need specific mounting hardware depending on the panel type.
Step 4: Prepare the Wall Surface
Preparing the wall surface before mounting the panels is essential. A clean, smooth surface will ensure the panels adhere properly and stay in place.
Clean the Wall
Start by cleaning the wall where the panels will be installed. Use a damp cloth to wipe away any dust, dirt, or debris. This step is crucial, especially if you're using adhesive to mount the panels, as a clean surface will provide better adhesion.
Repair Any Imperfections
If your wall has any cracks, holes, or uneven areas, it's a good idea to repair them before installing the panels. Use spackling compound to fill in any holes or cracks and sand the area smooth once it's dry. This will provide a more uniform surface for the panels to adhere to.
Step 5: Mount the Acoustic Panels
Now that your wall is prepared, it's time to mount the acoustic panels. Depending on your preference, you can use screws, mounting brackets, or adhesive to secure the panels to the wall.
Installing with Screws or Brackets
If you're using screws or mounting brackets, start by drilling pilot holes in the marked spots on the wall. Be sure to use a level to ensure the holes are straight. Next, attach the brackets to the wall, following the manufacturer's instructions. Once the brackets are securely in place, you can mount the acoustic panels by sliding them onto the brackets or securing them with screws.
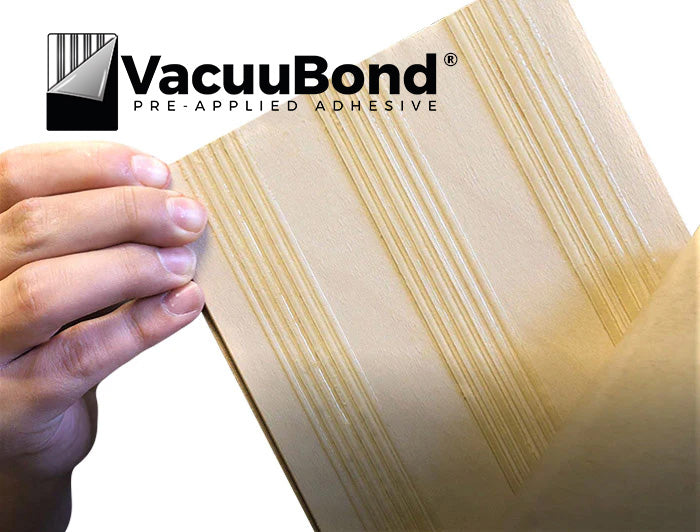
Installing with Adhesive
You can use adhesive to mount the panels directly to the wall for a less invasive installation. Apply a strong adhesive to the back of the panels in a zigzag pattern, then press the panel firmly against the wall in the marked spot. Hold the panel in place for a few minutes to allow the adhesive to set. Repeat this process for each panel, ensuring they are level and evenly spaced.
Finishing Touches
After all the panels are installed, step back and check for alignment. Use a level to ensure each panel is straight and adjust as necessary. If there are any gaps between panels, you can fill them with acoustic caulk or trim to create a seamless appearance.
Step 6: Test the Room's Acoustics
Once the panels are installed, it's time to test the acoustics of the room. Play some music, watch a movie, or conduct a sound test to assess the effectiveness of the panels. You should notice a significant reduction in echo and reverberation, resulting in clearer, more controlled sound.
If the acoustics aren't quite right, consider adding more panels or adjusting the placement of the existing ones. Sometimes, a little trial and error is needed to achieve the perfect sound.
Why Choose Wallplanks for Your Acoustic Panels?
At Wallplanks, we're proud to offer high-quality acoustic panels for both functional and aesthetically pleasing walls. Established in 2017 by industry expert Tryggvi Magnusson, our company is dedicated to developing durable, beautiful, high-performing wall products that transform any interior.
Our acoustic panels are manufactured by our parent company, From the Forest, LLC, an industry leader in premium hardwood flooring. Based in Weston, Wisconsin, we're committed to using only the best materials sourced from North America, ensuring that our products are both eco-friendly and of the highest quality.
Shop Wallplanks Today!
Ready to enhance the sound quality of your space with our top-notch acoustic panels? Explore our wide range of products and find the perfect solution for your needs. Whether you're setting up a home theater or a recording studio or just want to improve the acoustics in your living room, Wallplanks has the expertise and the products to help you achieve the perfect sound. Contact us today to learn more about our acoustic panels and how they can transform your space.