Your Cart is Empty
Get your first 3 samples FREE! Use code: 3FREESAMPLES at checkout!
Get your first 3 samples FREE! Use code: 3FREESAMPLES at checkout!
Shop Products
What's Trending
Resources
Wallplanks® Blogs
The Best Top Coat Wood Finish
Pre-Applied Adhesive
Wallplanks® Blogs

View Blogs >
The Best Top Coat Wood Finish

Read More >
Pre-Applied Adhesive

Read More >
9 Supplies That You Will Need When Installing Stick on Panels
September 20, 2019 3 min read 1 Comment


Are you thinking about giving your wall a unique look? Then creating an accent wall might be the ideal indoor home improvement that you need. Like most homeowners, you may think about heading to the store to get some bright colored paint or a mixture of paints that will bring some ‘pop’ to your walls. But why shouldn’t you think outside the box? The smell and feel of wood are distinct, and it gives a natural and lovely look.
Instead of using paint, you can create your accent wall using peel and stick paneling wood. Wood creates great warmth, texture, depth, and a unique look that creates an accent to any wall. Better yet, you can do this as a D.I.Y project if you have the ideal tools. This blog article highlights the basic tools and supplies that you may need when installing your peel and stick paneling planks.
Peel and Stick Wall Planks
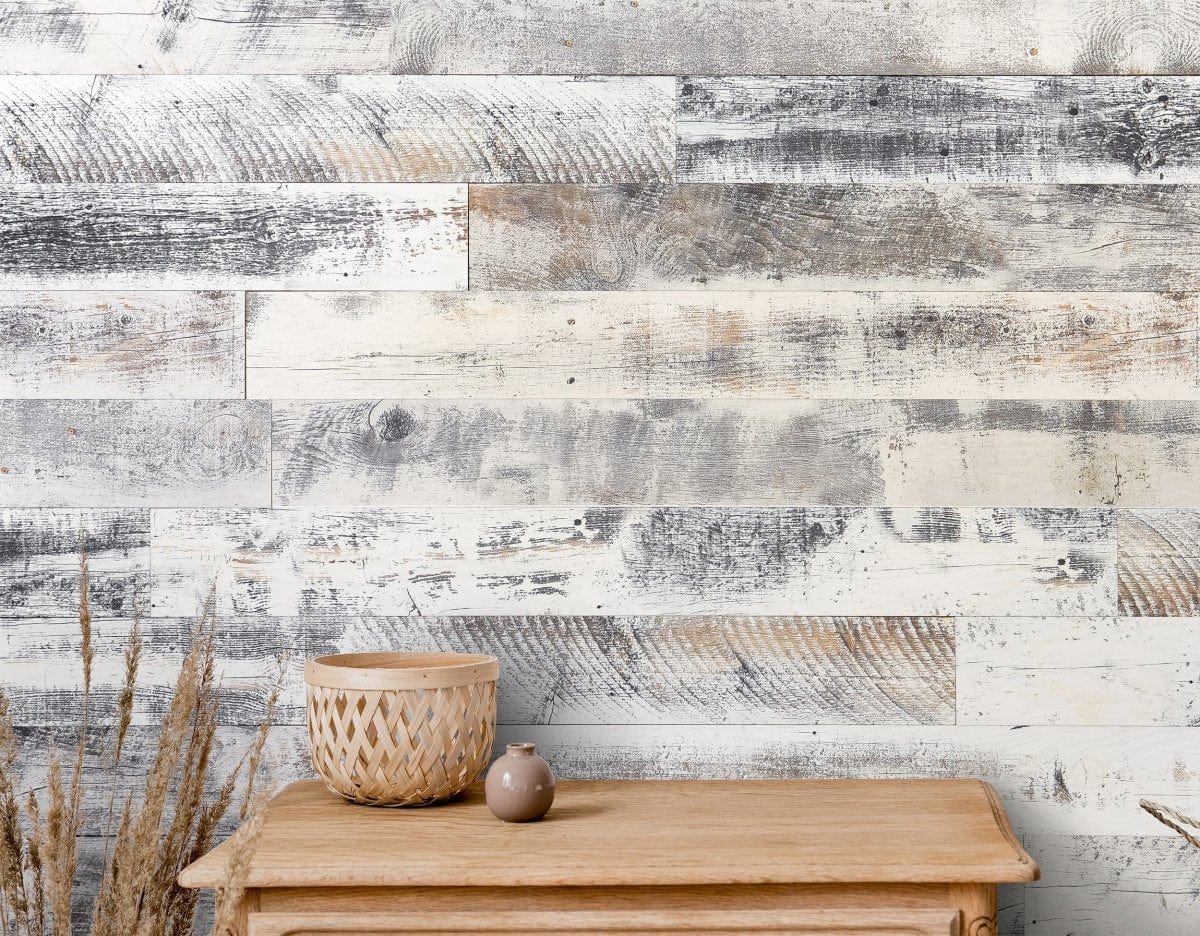
The first supply that you’ll need is the peel and stick planks. These are ultra-thin wooden planks with adhesive on one side, which allows them to stick to all wall surfaces. You should measure the surface area of your wall to estimate the approximate number of planks that you’ll need.
Wall plank solution or wood wall covering cleaner
Your wall surfaces need to be clean and clear, and without dust and debris for you to achieve optimal adhesion of the peel and stick paneling planks. Using the wall plank solution to clean the surfaces that will be stuck together ensures that the adhesive backing of your planks will stick to the wall.
J-Rollers
The J-Roller is necessary when installing your peel and stick paneling because it ensures that you achieve an even application. You should roll the J-Roller over the peel and stick wood to exert pressure intended to ensure that the planks get sealed onto your wall.
Jigsaw or Circular saw
The jigsaw or circular saw will help you in cutting clean lines in a more accurate manner. The jigsaw is a power tool with a reciprocating saw blade and electric motor. Jigsaws with bevel functions are the most ideal because they can cut angles of up to 45 degrees to the vertical stroke that works for miter joints.
Spirit level
You cannot trust your eyes to conduct an accurate evaluation of whether the ceiling and the floor baseboards in your room are well-leveled. If your ceiling is sagging and the floor isn’t well-leveled, then relying on these two as your reference line of installation may make you end up with a wonky peel and stick wood wall. You should use a 24-inch spirit level to assess the ceiling and baseboard levels. If there is no level, you will need to create a usable level line across your wall and mark it with a pencil.
Tape measure
You’ll need a tape measure to estimate your peel and stick paneling plank requirements. You can also use it to measure your cuts and select the stick on panels.
Pencils and chalk
The pencils or chalk will help you to mark your cutting lines as well as the level lines on walls and ceilings that are well-leveled. You can also use them to mark power outlets or other areas of interest with utility lines running through them.
Hammer and spackle
You’ll need a hammer to remove nails and staples on the wall as well as any wall fixtures that need dismounting. The spackle will be essential when filling holes where you’ll have removed nails or nailed some fixtures on to your wall.
Gloves, goggles, and a dust mask
Personal Protection Equipment (P.P.E) is essential while at work. You’ll have to use safety gloves, a dust mask, and goggles to prevent injury from tools and materials in case of an accident.
If cared for, stick on wood panels may last for an inordinate length of time without rotting or wearing down. Try installing interior wood plank walls as your accent wall today for a long-lasting visual appeal. And don’t forget to use the nine highlighted essential supplies.


Log Home Shoppe
March 22, 2023
There the things you need Installing Stick on Panels.
Gloves, goggles, and a dust mask
Hammer and spackle
Pencils and chalk
Tape measure
Spirit level
Peel and Stick Wall Planks